Posted by:
Category:
Comments:
Post Date:
How to Replace a Water Heater Element: Your Ultimate Step-by-Step Guide
If you have an electric water heater, you may have encountered the problem of a faulty heating element. A heating element is a metal rod that heats up the water inside the tank. There are usually two heating elements in a water heater, one at the top and one at the bottom. Over time, the heating elements can wear out, corrode, or burn out, resulting in insufficient or no hot water.
Fortunately, replacing a water heater element is not a very difficult task, and you can do it yourself with some basic tools and safety precautions. In this blog post, we will show you how to replace a water heater element in a few simple steps. But before we begin, let us tell you why you should choose Beeco Electronics for your water heater element needs.
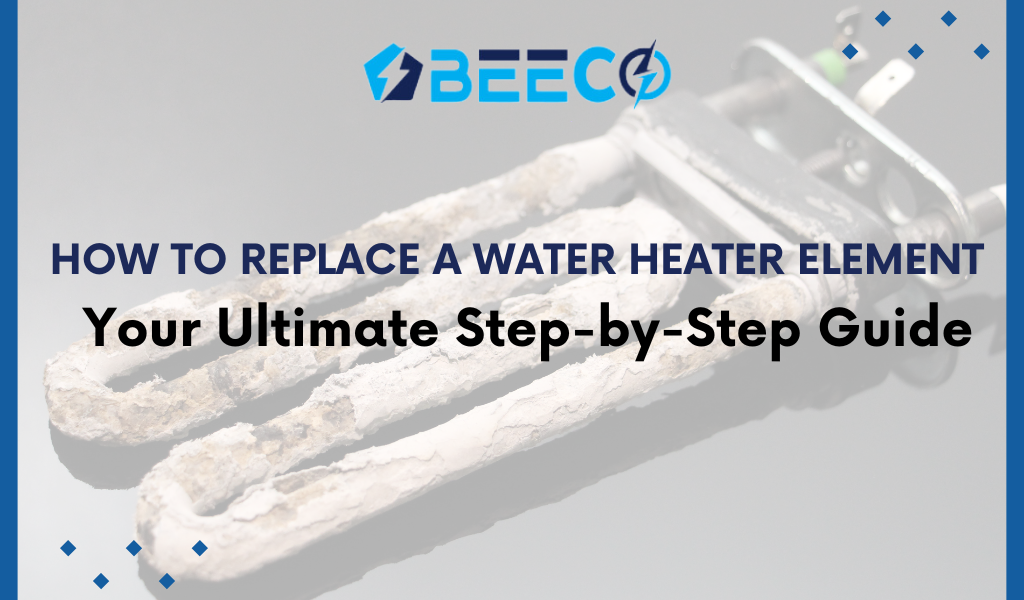
Beeco Electronics is a leading manufacturer and exporter of industrial heaters, packing machines, and thermocouples since 1993. One of their products is the water heater element, which is a tube-shaped heating element that can be inserted into drilled holes of metal parts. The water heater element can operate at low, medium, and high watt densities, depending on the application and the required temperature. The water heater element is made of stainless steel and has a nickel-chrome resistance wire inside. The heater can withstand a working temperature of up to 1400°F.
Beeco Electronics offers water heater elements in different sizes, shapes, voltages, and wattages, according to the customer's specifications and needs. They also provide customized solutions, such as different lead orientations, terminations, and sensors. Beeco Electronics ensures the quality and safety of their products by using German technology and ISO 9001:2000 certification. Beeco Electronics is a trusted and reliable name in the field of industrial heating, with over 10 years of experience and thousands of satisfied customers. Contact Beeco Electronics today and get the best water heater element for your application.
Now, let us see how to replace a water heater element with the following steps:
Step 1: Turn Off the Power and Water Supply
The first and most important step is to turn off the power and water supply to the water heater. You can do this by switching off the circuit breaker or disconnecting the power cord from the outlet. You can also use a voltage tester to make sure there is no electricity flowing to the water heater. Next, turn off the water supply valve that is connected to the water heater. You can also open a hot water faucet in the house to relieve the pressure in the tank.
Step 2: Drain the Tank
The next step is to drain the tank partially or completely, depending on the location of the heating element. If the heating element is at the top of the tank, you only need to drain a few gallons of water. If the heating element is at the bottom of the tank, you need to drain the entire tank. To drain the tank, you need to attach a garden hose to the drain valve at the bottom of the tank and run the other end to a floor drain or outside. Then, open the drain valve and let the water flow out. You may need to open the pressure relief valve or a hot water faucet to allow air to enter the tank and speed up the draining process.
Step 3: Remove the Old Heating Element
The next step is to remove the old heating element from the tank. To do this, you need to remove the access panel and the insulation that covers the heating element. Then, disconnect the wires that are attached to the heating element and label them for later reference. Next, use a heating element wrench or a socket wrench to loosen and remove the heating element from the tank. You may need to apply some force or use some penetrating oil to break the seal. Be careful not to damage the threads or the tank.
Step 4: Install the New Heating Element
The next step is to install the new heating element that matches the old one. You can buy a new heating element from Beeco Electronics or any hardware store. Make sure the new heating element has the same voltage, wattage, and shape as the old one. You can also apply some plumber's tape or sealant to the threads of the new heating element to prevent leaks. Then, insert the new heating element into the hole and tighten it with the heating element wrench or the socket wrench. Make sure the new heating element is aligned and secure. Next, reconnect the wires to the new heating element, following the labels or the color codes. Then, replace the insulation and the access panel.
Step 5: Refill the Tank and Restore the Power and Water Supply
The final step is to refill the tank and restore the power and water supply to the water heater. To refill the tank, you need to close the drain valve and the pressure relief valve or the hot water faucet. Then, open the water supply valve and let the tank fill up with water. You can also open a hot water faucet in the house to let the air out of the pipes and the tank. Once the tank is full and there are no leaks, you can restore the power and water supply to the water heater. You can do this by switching on the circuit breaker or plugging in the power cord to the outlet. You can also adjust the thermostat to the desired temperature and wait for the water to heat up.